Blog post templates give beginners a clear starting point when the blank page feels overwhelming. Instead of staring at a cursor and wondering what to write next, you can follow a proven structure that organizes your ideas, keeps readers engaged, and saves hours of planning time. Whether you're writing your first product review or publishing a how-to guide, templates for content writing remove the guesswork from the process.
The difference between a blog post that gets read and one that gets abandoned often comes down to structure. This guide walks you through four practical steps to start using blog post templates today, with real examples and actionable advice you can apply immediately. If you've ever wondered how professional bloggers produce consistent content, the answer is almost always that they rely on repeatable frameworks. Let's build yours.
Key Takeaways
- Templates eliminate writer's block by giving you a fill-in-the-blank framework for every post.
- A strong blog outline saves 30 to 50 percent of your total writing time.
- Matching the right template to your topic type dramatically improves reader engagement.
- Customizing templates with your brand voice prevents content from sounding generic or formulaic.
- Consistent use of templates builds a scalable content planning habit over time.

1. Understand What Blog Post Templates Actually Do
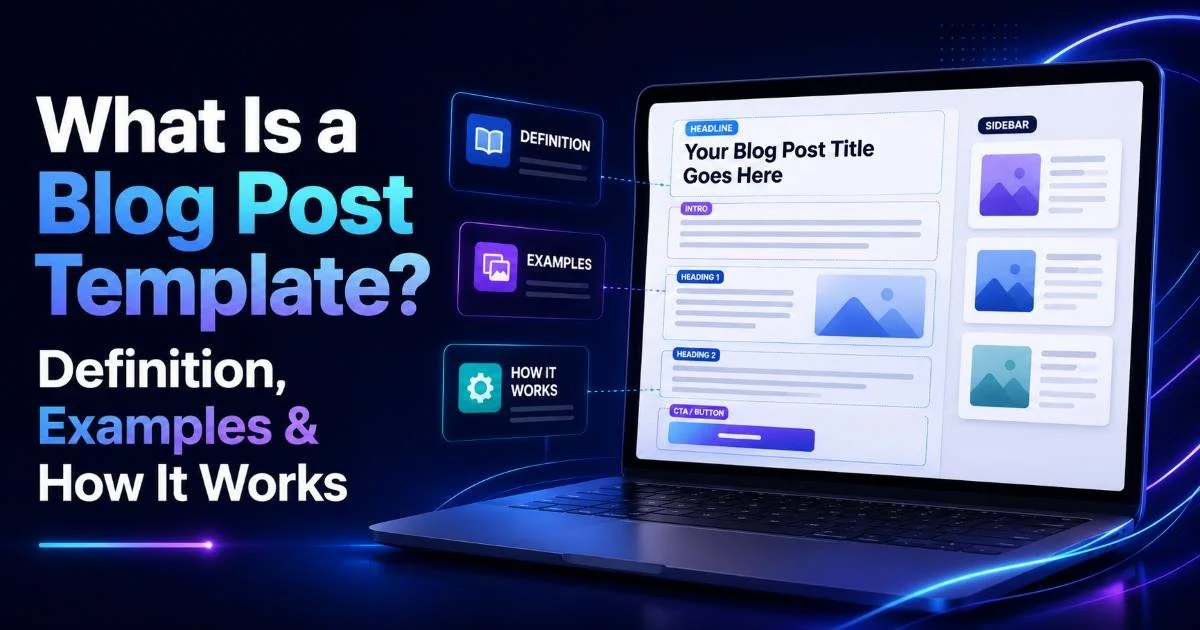
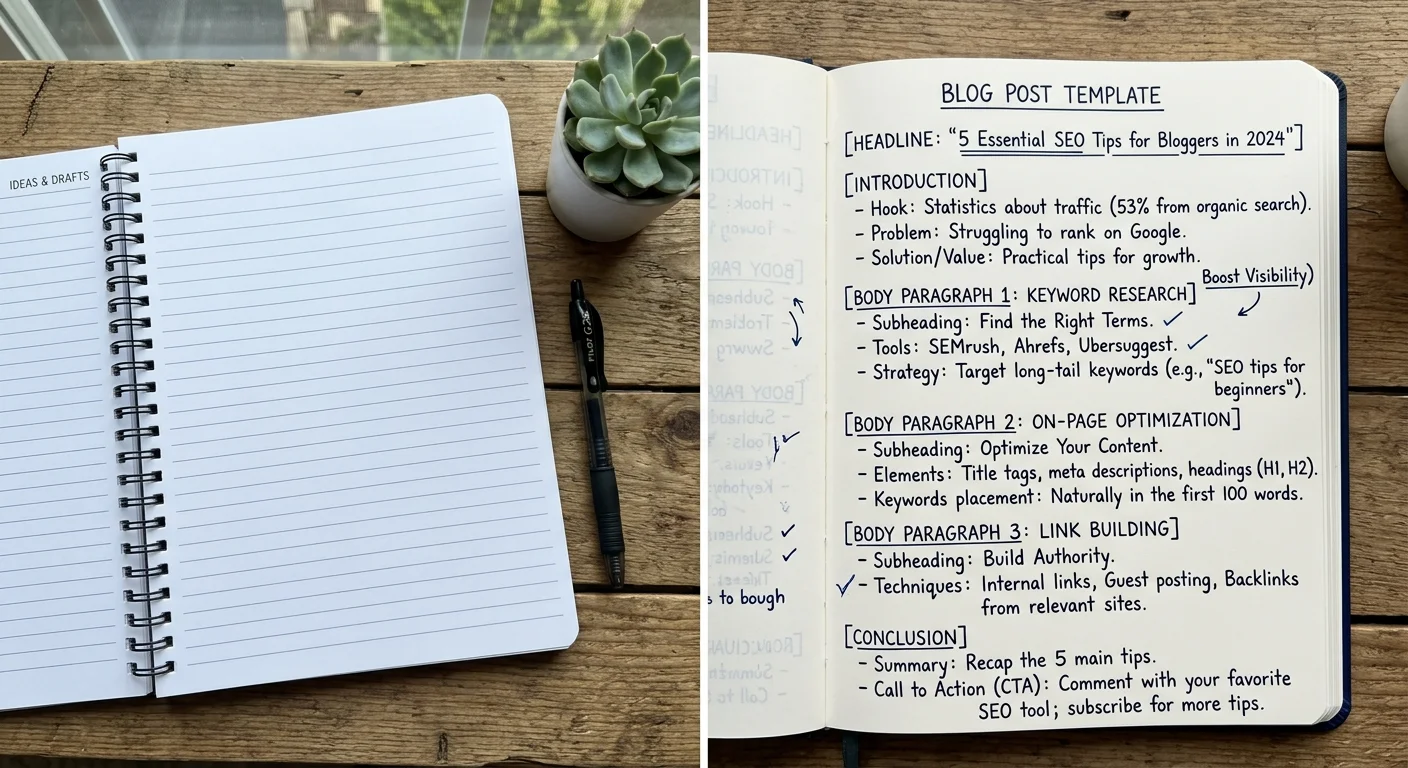
A blog post template is a pre-built document structure that maps out where your introduction, headings, body paragraphs, and conclusion should go. Think of it as architectural blueprints for your writing. You still choose the materials (your ideas, examples, and voice), but the template tells you where each piece belongs. If you want a deeper explanation, understanding what a blog post template is and how it works will give you the full picture of why this approach is so effective.
Templates aren't rigid molds that force every post to look identical. They're flexible frameworks. A listicle template, for instance, gives you numbered sections with space for supporting details under each point. A how-to template (like this one) uses sequential steps as headings. The underlying logic stays the same: guide the reader from problem to solution in a predictable, satisfying way.
Why Structure Beats Inspiration
Most beginner bloggers wait for inspiration before writing. That approach produces sporadic content at best. Professional bloggers flip the equation: they start with structure and let the writing flow into it. When you know you need an introduction, four main sections, and a conclusion, the mental load drops significantly. You stop asking "what should I write?" and start asking "what goes in this section?" That's a much easier question to answer.
Structure also benefits your readers. Studies on web reading behavior consistently show that people scan before they read. Clear headings, logical progression, and predictable formatting let scanners find what they need. If they find value in one section, they'll stick around for the rest. Templates bake this reader-friendly structure into every post you publish, which means better engagement without extra effort on your part.
Start with the simplest template you can find. You can always add complexity once the habit of structured writing feels natural.
2. Choose the Right Template for Your Content Type
Not every blog post should follow the same format. A product comparison needs side-by-side analysis sections, while a personal story works better with a narrative arc. Before you start writing, identify what type of content you're producing. This single decision shapes everything from your heading structure to the kind of evidence you include. Browsing blog post template examples for different niches can help you see what's available and pick the right match.
Matching Templates to Goals
Your content goal determines your template choice. If you want to educate, a how-to guide or tutorial template works best. If you want to persuade, a comparison or review template gives you the structure for balanced arguments. If you're building authority, a deep-dive or pillar post template lets you cover a topic comprehensively. Matching the template to your goal prevents the common mistake of trying to do too much in a single post.
| Content Type | Best Template | Primary Goal | Typical Word Count |
|---|---|---|---|
| Tutorial | How-To Guide | Educate | 1200 to 2000 |
| Product Review | Review Template | Persuade | 800 to 1500 |
| Roundup | Listicle Template | Curate | 1500 to 3000 |
| Opinion Piece | Essay Template | Argue | 1000 to 1800 |
| Case Study | Problem-Solution | Prove | 1200 to 2500 |
Once you identify the template type, look for variations that fit your niche. A food blogger's how-to template might include a recipe card section at the end, while a tech blogger's version might include code snippets or screenshots. The core structure stays the same; the details adapt to your audience. You can also explore GPTs designed for writing to help generate template variations quickly when you're experimenting with new formats.
A common pitfall for beginners is picking a template that's too ambitious for their current skill level. If you've never written a 3,000-word pillar post, don't start there. Choose a 1,000-word listicle template, publish it, learn from the process, and then scale up. Progress beats perfection every time, and each post you publish teaches you something about what works for your specific audience.
Templates are starting points, not rules. If a section in a template doesn't serve your reader, cut it. Your content should always serve the reader first.
3. Build Your Blog Outline Step by Step
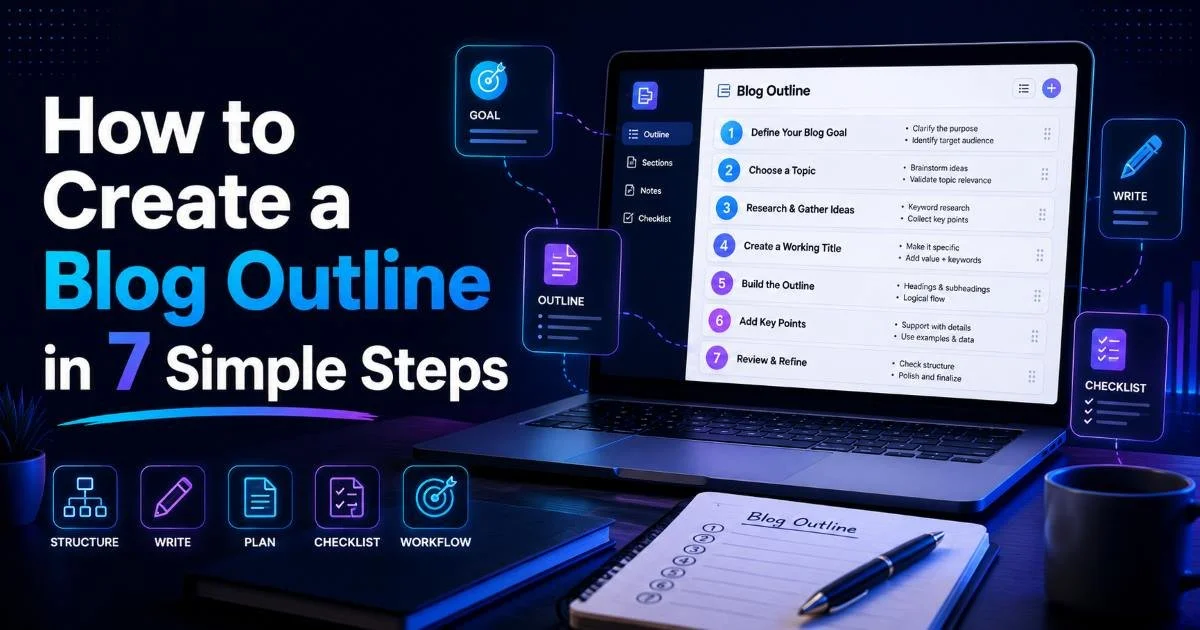
With your template chosen, the next step is building your outline. This is where the template transforms from an abstract framework into a concrete plan for your specific post. Start by writing your working title and identifying your target reader. Then fill in each section of the template with bullet points describing what you'll cover. Following a clear method to create a blog outline in simple steps turns this phase from guesswork into a repeatable system.
"The outline is where the real thinking happens. Writing is just the execution."
Filling in the Sections
For each heading in your template, write two to four bullet points summarizing the key ideas you want to communicate. These don't need to be polished sentences. They're notes to your future self. Under a heading like "Common Mistakes," you might jot down "overcomplicating the intro," "skipping the call to action," and "not using subheadings." When you sit down to write, these bullets become the backbone of each paragraph.
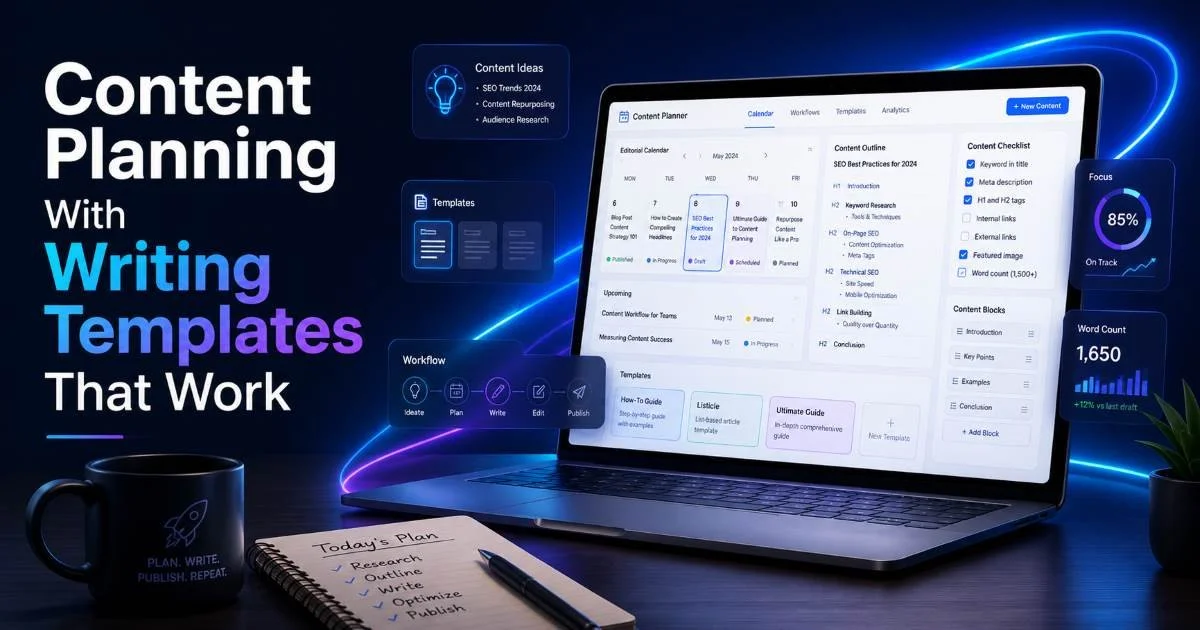
The outline phase is also the right time to plan your internal links, images, and calls to action. Mark where you want to insert a relevant link, note which sections need a supporting image, and decide where your CTA fits most naturally. This kind of content planning with writing templates prevents last-minute scrambling and keeps your published post looking polished and intentional.
Spend roughly 15 to 20 minutes on your outline before you write a single draft sentence. This investment pays off dramatically. Writers who outline first typically finish their drafts 30 to 50 percent faster because they never pause to wonder what comes next. The outline eliminates those momentum-killing moments where you stop writing to figure out your argument. You already figured it out. Now you just need to articulate it.
Keep a "template library" folder on your computer. Save every outline you create so you can reuse and refine your best structures for future posts.
4. Customize and Refine Your Template Over Time
The first template you use won't be perfect, and that's fine. What matters is that you start with a structure and then iterate based on what you learn. After publishing five or ten posts using the same template, you'll notice patterns. Maybe your introductions consistently run too long, or maybe your readers engage most with posts that include a comparison table. These insights help you customize your templates for better results.
Making Templates Your Own
Brand voice is the biggest differentiator between a generic template and a template that feels like yours. If your brand is casual and witty, adjust the template's tone guidelines to reflect that. Add a section for personal anecdotes if storytelling is part of your style. Remove formal "expert quote" sections if you prefer a more conversational approach. The goal is a template that sounds like you, not like every other blog on the internet.
Track your post performance metrics alongside the template you used. Over three to six months, you'll build a clear picture of which template types generate the most traffic, comments, and shares for your blog. A listicle template might outperform your how-to template for certain topics, while the reverse is true for others. This data-driven approach to content planning removes opinion from the equation and replaces it with evidence.
Refinement is an ongoing process, not a one-time project. Every quarter, review your top-performing posts and ask what structural elements they share. Update your templates accordingly. Add new sections that worked well, remove ones that consistently underperformed, and adjust word count targets based on your audience's reading habits. This habit of continuous improvement is what separates bloggers who plateau from those who grow steadily year after year.
Don't change your templates too frequently. Give each version at least five published posts before evaluating its effectiveness. Small sample sizes lead to bad conclusions.
Frequently Asked Questions
?How do I match the right blog post template to my topic type?
?Can using templates make my blog posts sound generic or formulaic?
?How much writing time does building a blog outline actually save?
?Is a blog post template the same as a blog outline?
Final Thoughts
Blog post templates aren't training wheels you eventually remove. They're tools that professional writers use at every level to produce consistent, high-quality content. Start with a basic template that matches your content type, build a focused outline before writing, and refine your approach based on real performance data.
The more posts you create with templates, the faster and more confident your writing becomes. Your readers will notice the difference, and so will your traffic numbers.
Disclaimer: Portions of this content may have been generated using AI tools to enhance clarity and brevity. While reviewed by a human, independent verification is encouraged.