A well-structured blog outline is the single most important step between a blank page and a published post that actually performs. Without one, writers tend to ramble, lose their central argument, and waste hours rearranging paragraphs that never quite fit together. Whether you're working from a blog post template or starting from scratch, an outline gives your writing direction, consistency, and purpose.
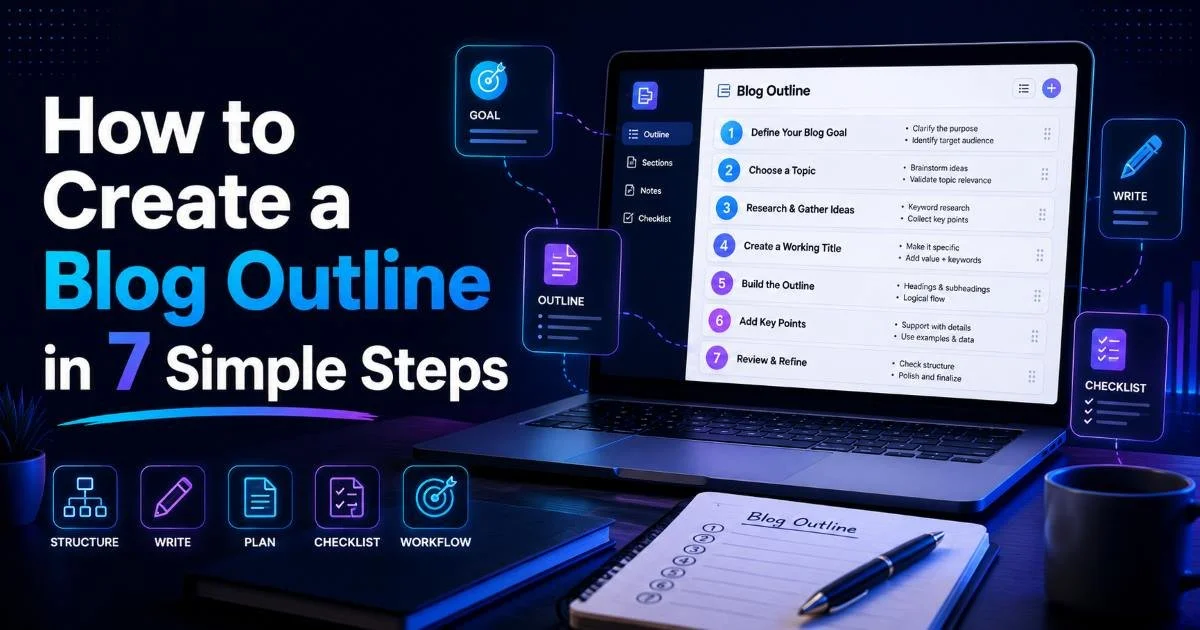
The good news is that creating one doesn't require any special software or advanced content planning skills. In this tutorial, you'll learn how to build a blog outline in seven straightforward steps, using practical templates and proven techniques. By the end, you'll have a repeatable process that saves time and produces stronger posts every single time. This guide is built for beginner to intermediate bloggers who want a reliable system, not just vague advice.
Key Takeaways
- A blog outline reduces writing time by up to 40% and improves post structure.
- Start every outline by defining one clear topic and a specific target reader.
- Use templates to standardize your content planning across different post types.
- Each section of your outline should answer one distinct question for the reader.
- Reviewing and revising your outline before writing prevents major rewrites later.

Step 1: Define Your Topic and Audience
Every strong blog outline begins with two questions: what are you writing about, and who are you writing for? These aren't throwaway questions. A post about "email marketing" written for SaaS founders looks completely different from one written for freelance designers. Pin down your topic and reader before anything else, because this decision shapes your headings, tone, depth, and examples throughout the entire post.
Narrow Your Angle
Broad topics produce weak outlines. Instead of "SEO tips," try "on-page SEO tips for new ecommerce stores." The narrower your angle, the easier it becomes to identify the specific subtopics your outline needs to cover. Write a single sentence that captures the post's promise. Something like: "This post will teach beginner bloggers how to write a complete blog outline in under 30 minutes." That sentence becomes your compass.
At this stage, jot down three to five questions your target reader would ask about the topic. If you're writing about meal prep for busy parents, those questions might be: "How much time does this take?" or "What equipment do I need?" These questions will become sections or subheadings in your outline. If you can't generate at least three strong questions, your topic may be too narrow or too niche to sustain a full post.
Write your audience definition as a one-line persona, for example: "Marketing manager, 2 to 5 years experience, managing a company blog solo."
By the end of this step, you should have a clearly defined topic, a one-sentence promise, and a short list of reader questions. If you're new to this process, a beginner-friendly guide to blog post templates can help you understand how topic selection connects to structure. Don't skip this foundational work; it prevents the aimless writing that leads to missed deadlines and unfocused posts.
Read Also Best AI Blog Writing Tools Compared
Step 2: Research and Gather Supporting Points
With your topic locked in, it's time to collect the raw material that will fill your outline. This means reading competitor posts, scanning forums like Reddit or Quora, reviewing industry studies, and noting statistics that strengthen your argument. Don't write anything yet. You're simply building a pool of evidence, examples, and data points that you'll organize in the next step. Spend 20 to 30 minutes here, depending on your familiarity with the topic.
Organize Your Sources
As you research, group your findings by subtopic. If you identified four reader questions in Step 1, create four buckets and drop relevant stats, quotes, or examples into each one. This sorting process reveals gaps immediately. If one bucket is nearly empty, you either need to research more or reconsider whether that subtopic deserves its own section. Tools like AI blog writer tools can speed up this research phase by summarizing sources and suggesting related angles.
One mistake many bloggers make is researching endlessly without a clear stopping point. Set a timer. When it goes off, review what you've collected. If you have at least two supporting points per section, you have enough to move forward. Perfectionism at the research stage is a productivity killer. You can always add more detail during the actual writing phase, but an outline only needs the bones, not the muscle.
At the end of Step 2, you should have organized research notes grouped by subtopic, with at least two supporting facts or examples per group. If your content planning process already includes writing templates that work, you may find that your research naturally fits into predefined sections, which saves even more time during the outlining stage.
Always verify statistics from their original source before including them in your outline. Secondhand data is frequently outdated or misquoted.
Step 3: Structure Your Outline Using Blog Post Templates
Now comes the part where your research transforms into a skeleton for your post. This is where blog post templates prove their value. A template gives you a proven structure, so instead of agonizing over whether to put the definition before the examples, you follow a format that's already been tested. Templates for how-to posts, listicles, comparison articles, and case studies each have their own logic and flow.
Match the Template to Your Goal
Choose a template that matches your post's purpose. A step-by-step tutorial (like this one) uses numbered headings and a sequential flow. A listicle uses parallel subheadings. A comparison post uses a two-column approach. If you're unsure which format fits, browse template examples across different niches to see how various structures handle different types of content. Matching the right template to your goal is half the battle.
| Template Type | Best For | Typical Word Count | Key Structural Element |
|---|---|---|---|
| How-To / Tutorial | Teaching a process | 1200 to 2000 | Numbered steps |
| Listicle | Curating tips or tools | 800 to 1500 | Parallel subheadings |
| Comparison | Evaluating two options | 1000 to 1800 | Side-by-side sections |
| Case Study | Proving a method works | 1500 to 2500 | Problem, solution, results |
| Ultimate Guide | Comprehensive coverage | 2500 to 5000 | Table of contents with deep sections |
Once you've selected your template, map your research buckets from Step 2 onto its structure. Each bucket becomes a heading or subheading. Under each heading, list two to four bullet points summarizing what you'll cover. These bullets are your writing prompts for the drafting phase. Keep them concise; one sentence each is ideal. You're building a roadmap, not writing the first draft.
"A good outline doesn't just organize your ideas; it reveals the gaps you didn't know existed."
By the end of this step, your outline should have a clear introduction note, four to seven main headings with brief bullet points beneath each, and a planned conclusion. It should fit on one page (or one screen). If it doesn't, you're probably over-scoping the post. Trim sections that feel tangential. A focused 1,500-word post outperforms a bloated 3,000-word post almost every time, both in reader engagement and search performance.
Print your outline or view it in a distraction-free editor. If the heading flow doesn't tell a coherent story on its own, rearrange before you start writing.
Step 4: Refine, Review, and Finalize Your Outline
Your first outline draft is never your best. Step back and read through the headings in order. Do they follow a logical progression? Does each section build on the one before it? Would a reader who only scanned the headings still understand the post's value? These are the questions that separate amateur outlines from professional ones. Spend five to ten minutes on this review; it pays off enormously during the writing phase.
Check that your outline includes a strong opening hook, a logical body, and a closing that ties back to the central promise. Verify that each section has enough supporting material from your research. If a section only has one bullet point, either merge it with another section or go back and find more evidence. Thin sections produce thin paragraphs, and readers notice. A solid outline typically has three to four supporting bullets per major heading.
Common Mistakes to Avoid
The most frequent outlining mistake is writing too much detail. Your outline is a guide, not a rough draft. If you're writing full paragraphs in the outline stage, you're doing double work. Another common error is ignoring the reader's journey. Your sections should answer questions in the order a reader would naturally ask them. Jumping from advanced techniques back to basic definitions creates a disjointed reading experience that increases bounce rates.
Don't skip the outline review just because you're eager to start writing. Unreviewed outlines lead to structural problems that take three times longer to fix in editing.
Finally, save your finished outline as a reusable document. Over time, you'll build a personal library of outlines that can be adapted for similar topics. This is where templates and content planning intersect most powerfully: each outline you create becomes a blueprint for future posts. Label them clearly by topic, format, and date. Six months from now, when you need to write a similar post, you'll thank yourself for keeping these organized.
Frequently Asked Questions
?How do I narrow my blog topic angle before outlining?
?Can I use one blog post template for every type of post?
?How much time does creating a blog outline actually save?
?What's the biggest mistake writers make when outlining a blog post?
Final Thoughts
Creating a blog outline isn't complicated, but it does require discipline. The four steps above (defining your topic, researching, structuring with templates, and refining) form a process you can repeat for every post you write.
The time you invest in outlining saves far more time during writing and editing. Start with your next blog post: spend 30 minutes building an outline before you type a single paragraph of the draft. You'll notice the difference immediately in both speed and quality.
Disclaimer: Portions of this content may have been generated using AI tools to enhance clarity and brevity. While reviewed by a human, independent verification is encouraged.