Content planning with writing templates is the single most effective way to stay consistent, organized, and productive as a blogger. Too many writers sit down to create a post and stare at a blank screen for twenty minutes before typing a word. That wasted time adds up fast. Templates solve this by giving you a repeatable structure, a starting framework that removes the guesswork from every blog post you publish.
Whether you write one article a week or ten, a solid content planning system built around templates will transform your workflow. This guide walks you through four practical steps to build that system from scratch, with real examples you can apply today. By the end, you'll have a clear process for creating blog outlines, selecting the right template, and planning content weeks in advance.
Key Takeaways
- Writing templates eliminates blank-page paralysis and cut drafting time by up to 50%.
- A content calendar paired with templates keeps your publishing schedule consistent and predictable.
- Matching the right template to your topic improves reader engagement and time on page.
- Blog outlines built from templates produce more structured, scannable, and SEO-friendly posts.
- Even beginners can build a reusable template library in under one afternoon.
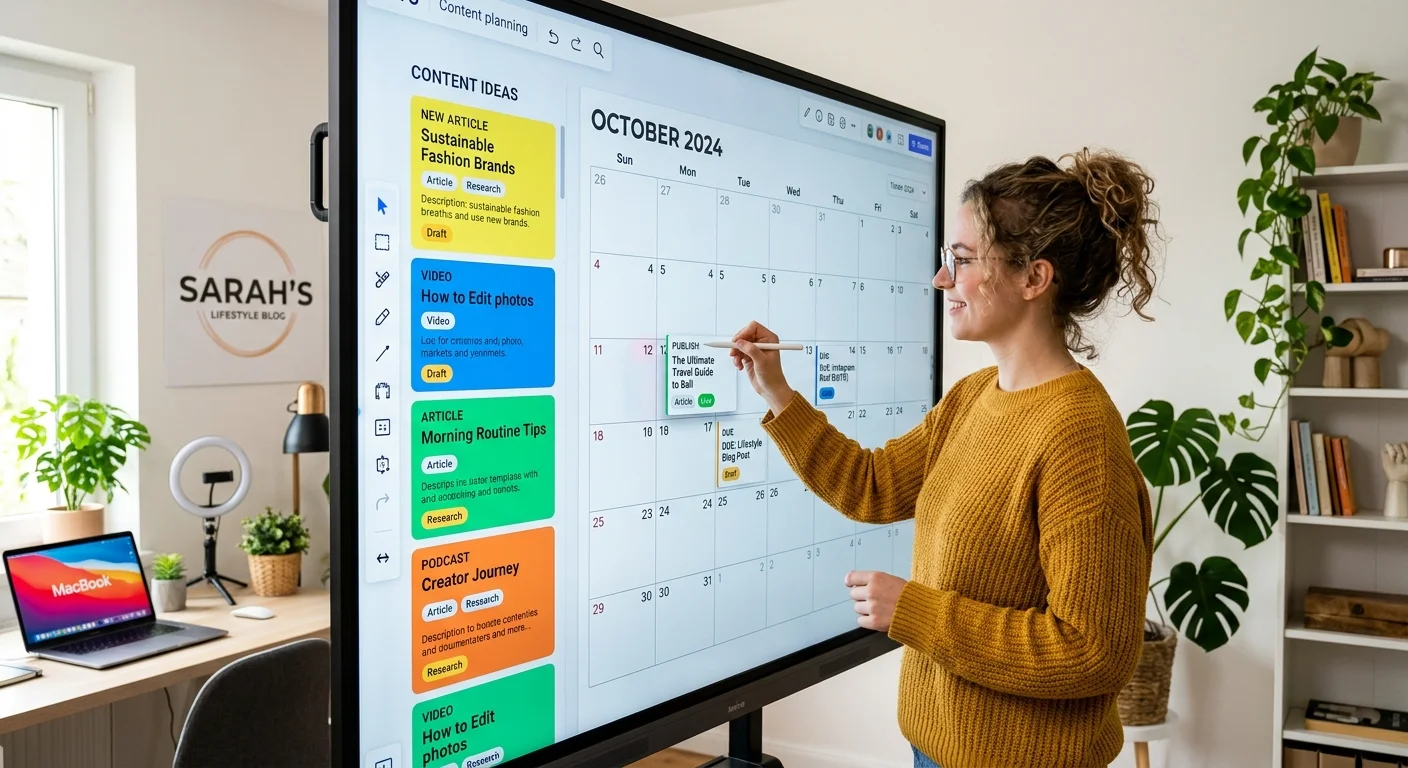
Step 1: Audit Your Content Goals and Topics
Before you touch a template, you need clarity on what you're actually trying to accomplish. Are you building organic search traffic? Growing an email list? Establishing authority in a niche? Each goal demands different types of content. A blog focused on SEO traffic will lean heavily on how-to guides and listicles, while a thought-leadership blog might favor opinion pieces and case studies. Write down your top three goals and rank them. This ranking will directly influence which templates you reach for most often.
Identify Your Content Pillars
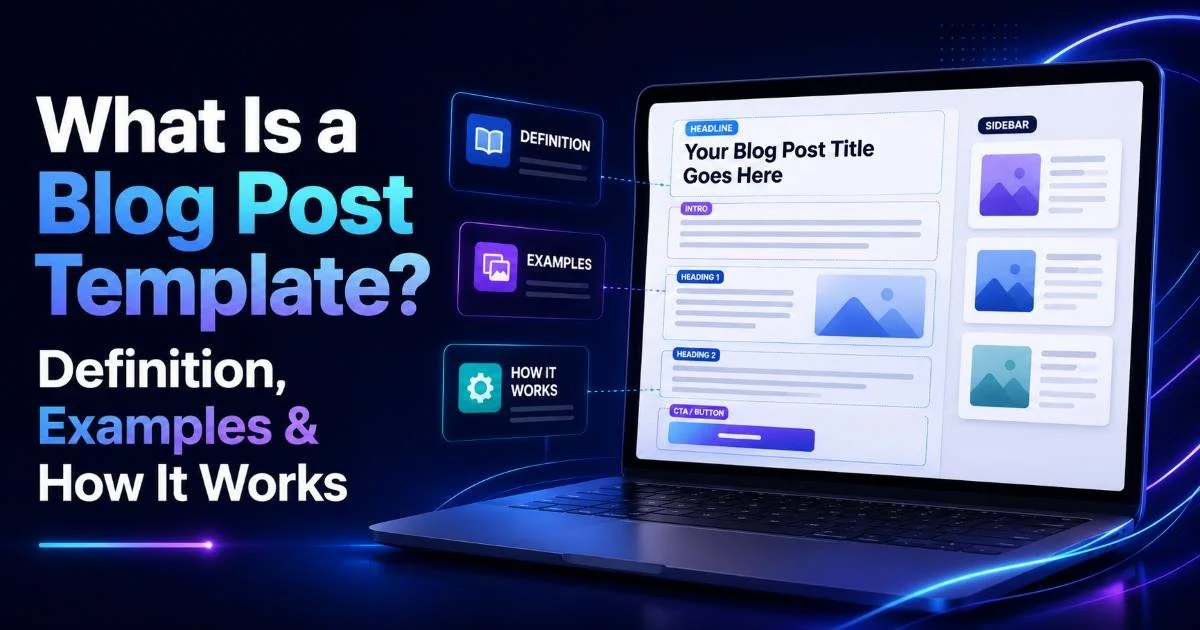
Content pillars are the three to five broad topics your blog covers repeatedly. For a fitness blog, those might be nutrition, strength training, recovery, and mindset. For a marketing blog, they could be SEO, email marketing, social media, and analytics. If you want a deeper understanding of how templates fit into this broader structure, our guide on what a blog post template is and how it works breaks down the fundamentals. List your pillars now; they become the categories you'll plan content around.
Once you have your pillars, brainstorm ten to fifteen specific post ideas under each one. Don't filter yourself at this stage. Just get ideas on paper. You can use keyword research tools or simply think about questions your audience asks repeatedly. The goal is to build a backlog of topics large enough to fill at least two months of publishing. Using an AI SEO tool can speed up this process dramatically by surfacing keyword opportunities and content gaps you might miss manually.
Keep a running "idea bank" in a simple spreadsheet. Add at least three new topics every week so you never run dry.
After brainstorming, categorize each idea by content type. Is it a tutorial? A comparison? A listicle? This categorization matters because it determines which template you'll use in the next step. You'll also want to note the search intent behind each topic. Informational queries call for educational templates, while commercial queries work better with comparison or review formats. Spending thirty minutes on this audit saves hours of directionless writing later.
Step 2: Choose the Right Writing Template for Each Post
Not every blog post should follow the same structure. A recipe post and a product review have completely different reader expectations, and your template should reflect that. The most common template types include how-to guides, listicles, comparison posts, case studies, and opinion pieces. Each one has a distinct skeleton: specific heading patterns, section flows, and content blocks that readers expect. Picking the wrong template for your topic is like wearing running shoes to a formal dinner. It might technically work, but it won't feel right.
Template Types at a Glance
| Template Type | Best For | Typical Length | Key Feature |
|---|---|---|---|
| How-To Guide | Tutorials, processes | 1200 to 2000 words | Numbered steps |
| Listicle | Tips, tools, resources | 800 to 1500 words | Scannable list format |
| Comparison Post | Product or method reviews | 1500 to 2500 words | Side-by-side analysis |
| Case Study | Results, proof, stories | 1000 to 2000 words | Data and narrative blend |
| Opinion/Editorial | Thought leadership | 600 to 1200 words | Strong point of view |
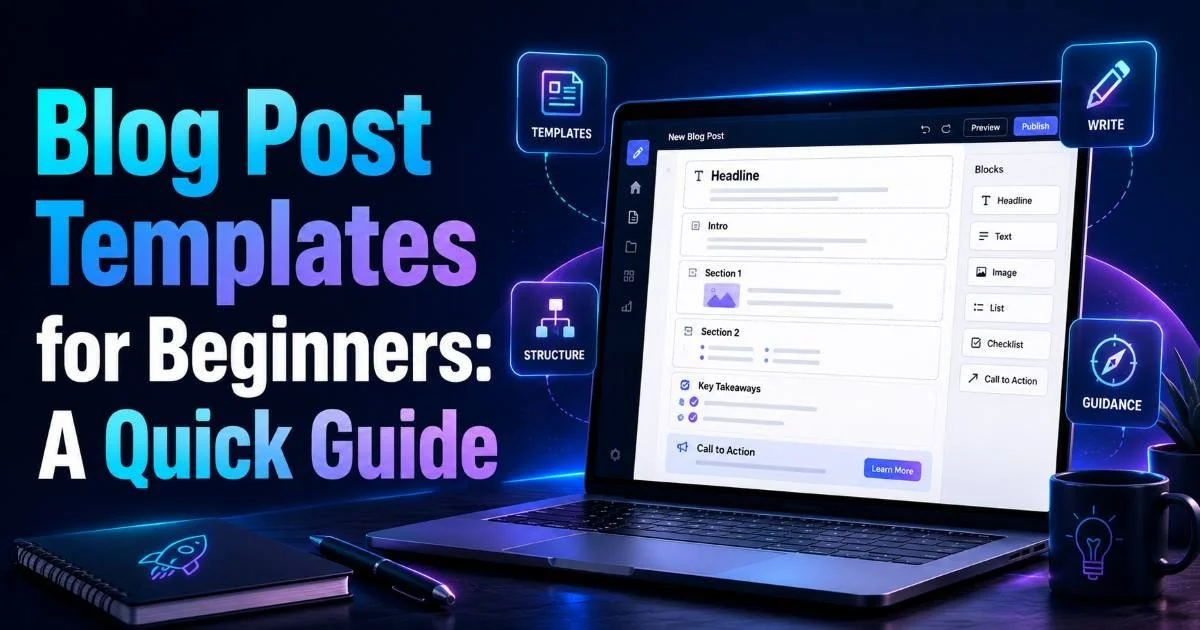
If you're just starting out, you don't need all five templates on day one. Start with two or three that match your most common content types. Our quick guide to blog post templates for beginners is a great place to see which formats suit newer bloggers. As your content library grows, you can expand your template collection to cover more specialized formats like interviews, roundups, or product launches.
Templates are starting points, not straitjackets. Adjust headings, add sections, or remove blocks that don't fit your specific post.
For real-world inspiration, browse ten blog post template examples across different niches. You'll notice that successful templates share common traits: clear heading hierarchies, logical section flow, and built-in spots for calls to action. When selecting a template, match it to both your topic and your reader's intent. Someone searching "how to start a vegetable garden" expects step-by-step guidance, not a listicle of gardening facts.
Also Check AI Writing Software vs Human Writers: Key Differences
"A template doesn't replace creativity; it channels it. Structure frees you to focus on what actually matters: your ideas."
Step 3: Build a Blog Outline Using Your Template
With your template selected, the next step is turning it into a detailed blog outline for your specific post. An outline is where your template meets your unique content. Start by filling in the main H2 headings based on your template's structure. For a how-to guide, those headings are your steps. For a listicle, they're your list items. Then add H3 subheadings where you know a section needs to cover multiple subtopics. This is the skeleton your draft will hang on, and the more detailed it is, the faster you'll write.
Outline Best Practices
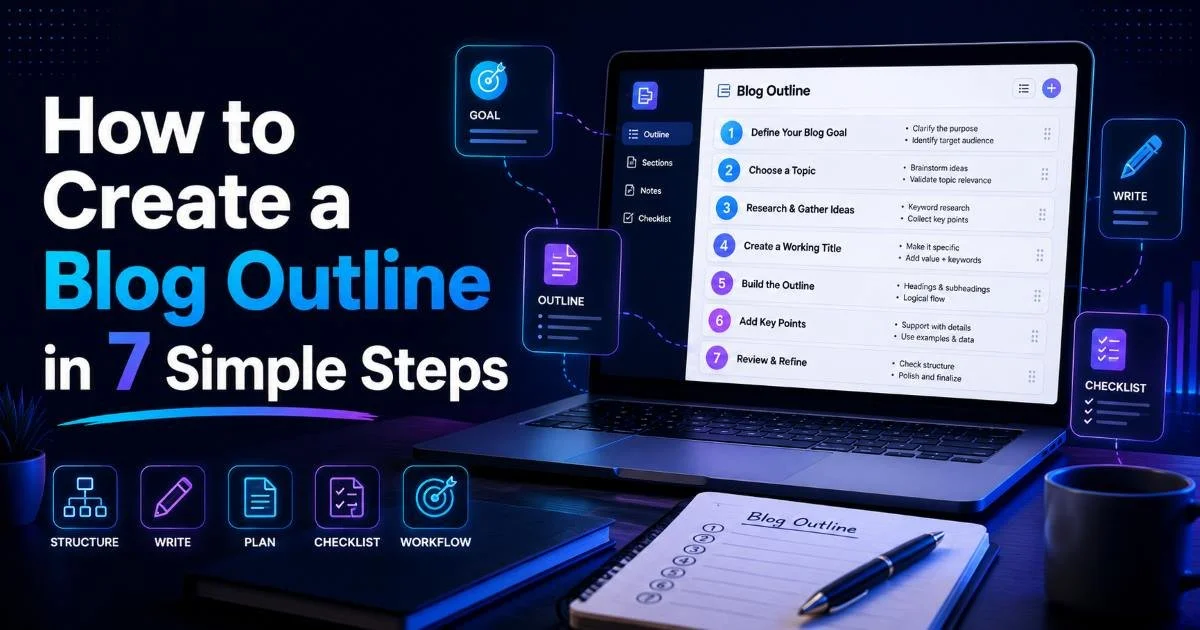
A good outline includes more than just headings. Under each heading, jot down two to four bullet points describing what you'll cover. Include specific examples, data points you want to reference, and any links you plan to incorporate. For a detailed walkthrough of this process, check out our guide on how to create a blog outline in seven simple steps. That level of pre-writing detail means your first draft practically writes itself, because every paragraph already has a purpose.
Here's a practical example. Say you're writing a comparison post about two email marketing platforms. Your template gives you the structure: introduction, feature comparison, pricing, ease of use, verdict. Your outline then fills in the specifics. Under "Feature Comparison," you might note: "automation workflows, A/B testing, segmentation options, integration count." Under "Pricing," you'd list the actual plan tiers and prices. This granularity prevents you from meandering during the draft phase or forgetting to cover something important.
Spend 15 to 20 minutes on your outline. Posts written from detailed outlines typically require 30% fewer revision passes.
One common mistake is making outlines too vague. Writing "talk about benefits" under a heading tells you nothing useful when you sit down to draft three days later. Instead, write "three benefits: saves time (cite stat), improves consistency (example from Buffer study), reduces decision fatigue (personal anecdote)." Specificity in your outline translates directly to specificity in your final post, which is exactly what readers and search engines reward.
Step 4: Create a Content Calendar That Ties Everything Together
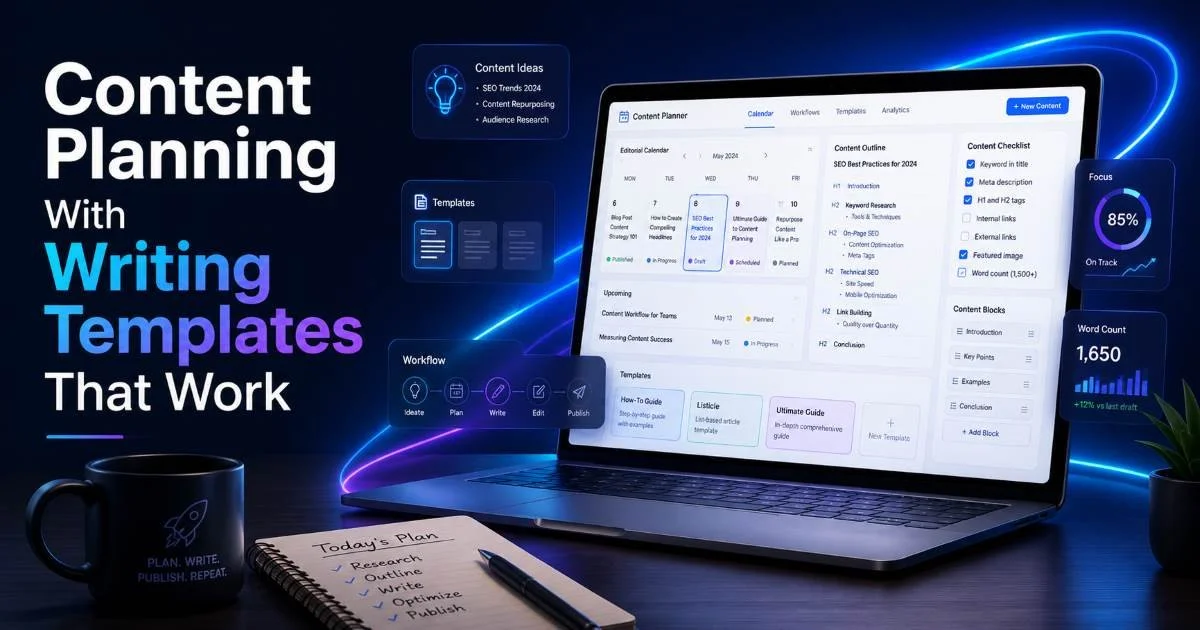
Templates and outlines are powerful on their own, but they reach full potential inside a content calendar. A content calendar is simply a schedule that maps out what you'll publish, when you'll publish it, and what stage each piece is in. Without one, even the best templates end up gathering dust in a folder while you scramble to figure out what to write next. The calendar provides accountability and visibility, letting you see gaps in your content pillars and balance your publishing mix across different post types.
Picking the Right Calendar Tool
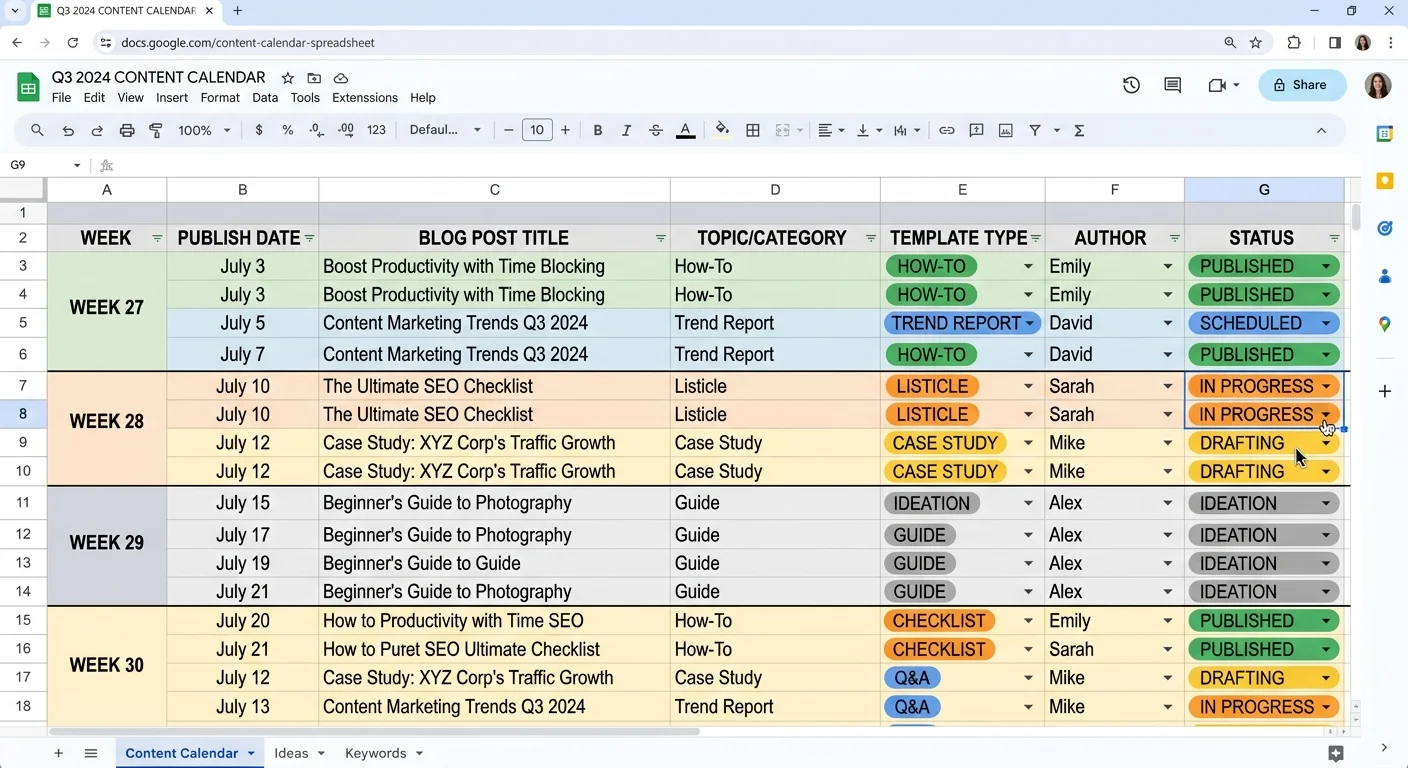
You don't need expensive software. A Google Sheet works perfectly for solo bloggers and small teams. Create columns for publish date, post title, content pillar, template type, outline status, draft status, and publication status. Color-code by pillar so you can visually spot imbalances at a glance. If you prefer something more visual, tools like Trello or Notion offer kanban-style boards where each card represents a post moving through stages. The best tool is whichever one you'll actually use consistently.
Plan at least four weeks ahead, ideally six to eight. Assign each slot a topic from your idea bank, a template type, and a target word count. Block one day per week for outlining upcoming posts and another for drafting. This batching approach, where you do similar tasks in concentrated blocks, is far more efficient than switching between research, writing, and editing throughout the day. Many professional bloggers report doubling their output after adopting batched content planning workflows.
Review your calendar weekly. Check what's on track, what's falling behind, and whether your template choices still make sense for each topic. Sometimes a post you planned as a listicle works better as a how-to guide once you start outlining it. That's fine. Flexibility within structure is the whole point. The calendar keeps you moving forward; the templates keep your quality consistent. Together, they form a content planning system that scales whether you're publishing twice a month or every single day.
Don't over-plan. Scheduling three months of content in detail sounds productive, but topics go stale and priorities shift. Keep detailed plans to six weeks maximum.
Frequently Asked Questions
?How do I build a reusable template library from scratch?
?Should I use the same template for SEO posts and thought-leadership posts?
?How long does content planning with templates actually take per post?
?Can I skip the content pillar step and just use templates directly?
Final Thoughts
Content planning with writing templates isn't complicated, but it does require intention. Start by auditing your goals, pick templates that match your content types, build detailed outlines, and tie everything together with a calendar. The system compounds over time. After a month, you'll have a library of outlines and templates you can remix and reuse for any new topic.
After three months, writing a blog post will feel like filling in a well-designed form rather than inventing something from nothing. That's the real power of templates: they make good writing repeatable.
Disclaimer: Portions of this content may have been generated using AI tools to enhance clarity and brevity. While reviewed by a human, independent verification is encouraged.